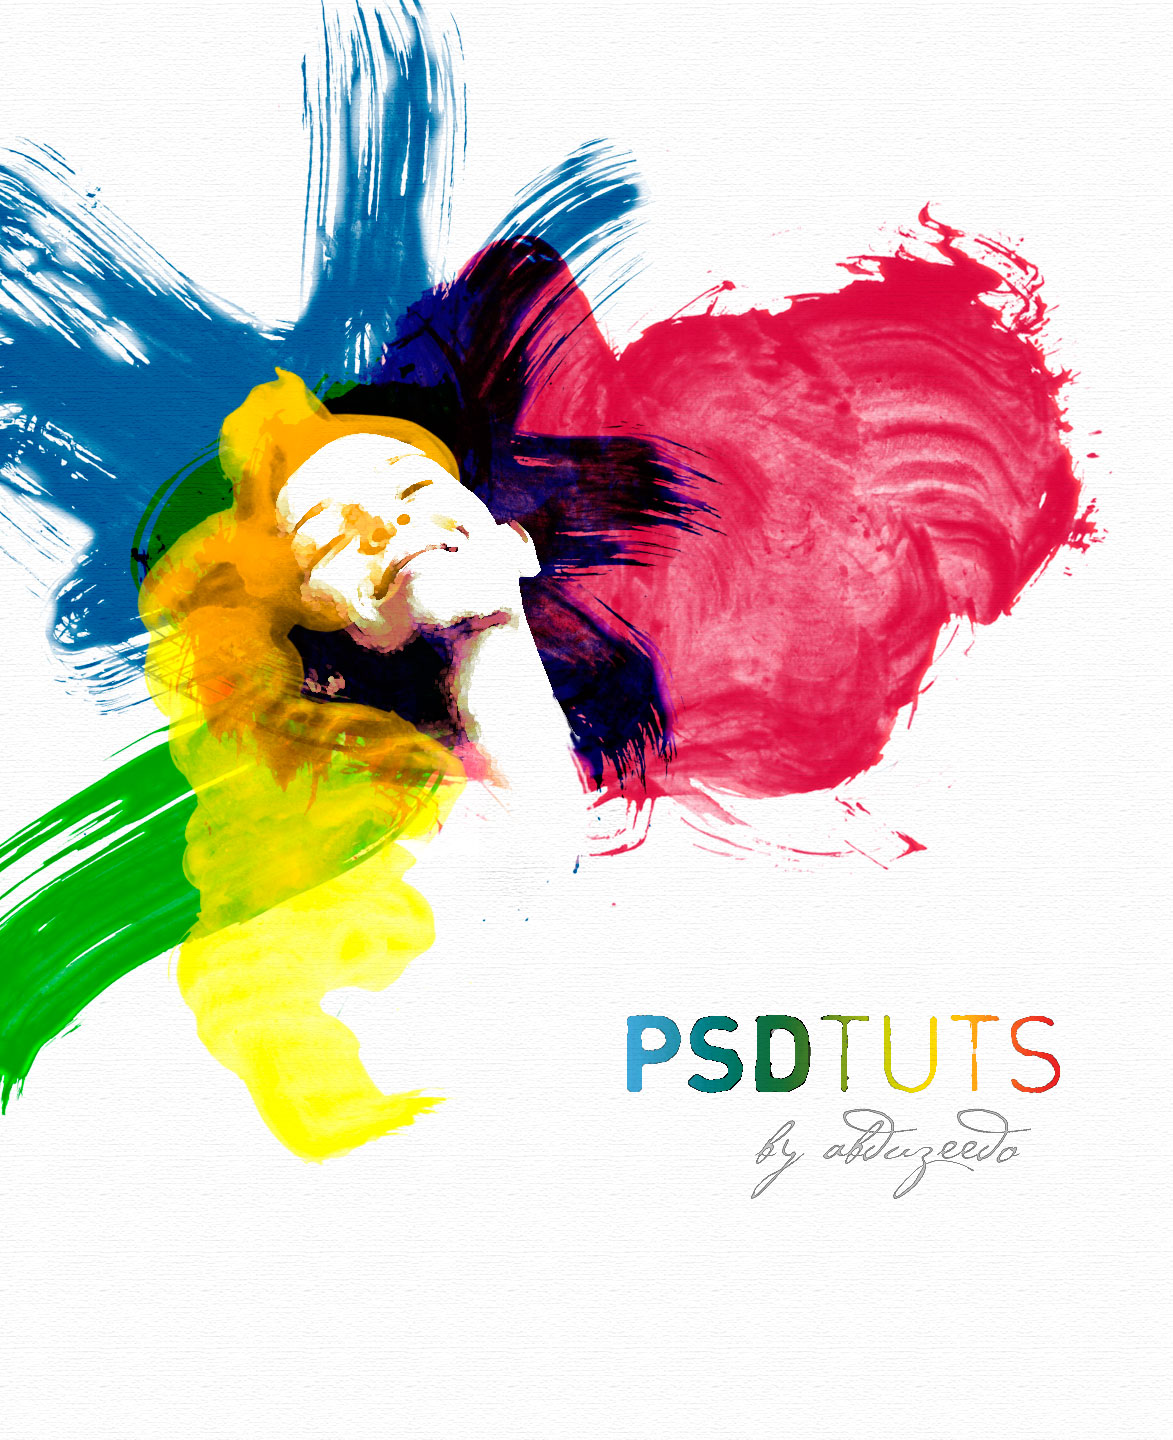
Ok kali ini Saya Posting Pembuatan Effect WaterColor Di Photoshop Bagian Ke 1
Hasil Jadi :
Step 1
Create a new document and a new layer. Rename the layer to "texture" and fill it with white. Make sure that the foreground is white and the background is black. Then go to Filter>Texture>Texturizer, and use Canvas for the Texture, 80% Scaling, and 2 for the Relief.
Step 2
Place an image in your document. The one used in this tutorial can be downloaded at this link. Then delete the background. You can use the Path Tool (P) or the Polygonal Lasso Tool (L). Tip: It doesn't need to be perfect because we will apply some filters in the next step.
Step 3
Select the layer of the girl and go to Image>Adjustments>Levels. We want to increase the whites here. Then go to Image>Adjustments>Hue/Saturation, and change the Saturation to -65.
Step 4
Now go to Filter>Artistic>Watercolor. Use the following settings: Brush Detail 9, Shadow Intensity 0, and Texture 1.
Step 5
With the girl's layer selected, go to Layer>Layer Mask>Reveal All. Then select the Brush Tool (B), with black for the color, and mask the body of the girl.
Step 6
We need the Bittbox Watercolor Brushes 2 that you can download at this link.Next we create a new layer. Then with the Brush Tool (B) selected, choose the seventh brush from the BB Watercolor Brushes. Use black for the color. Then reduce its size to fit the document. After that, rotate and resize the layer. The idea is to create watercolor-style hair for the girl using the brush.

Step 7
Now go to Layer>Layer Style>Blending Options. Change the Fill Opacity to 0. Then select the Color Overlay option. Use red for the color and Multiply for the blend mode. For the Opacity use 70%. Then select the Satin option. Use Hard Light for the blend mode, purple (#5d085c) for the color, 20º for the Angle, Distance 4px, and Size 12px.
Terimakasih :D
Lanjut Ke Tutorial Berikutnya :
+ WaterColor Part1 Dengan Photoshop
+ WaterColor Part2 Dengan Photoshop

EmoticonEmoticon